


BATB211_How to Get Massive Lash Volume!
We ship worldwide!


Hi Friends, Makeup Artist Katie here...![]()
If you don't like the idea of false lashes (or you find them just too fiddly)...
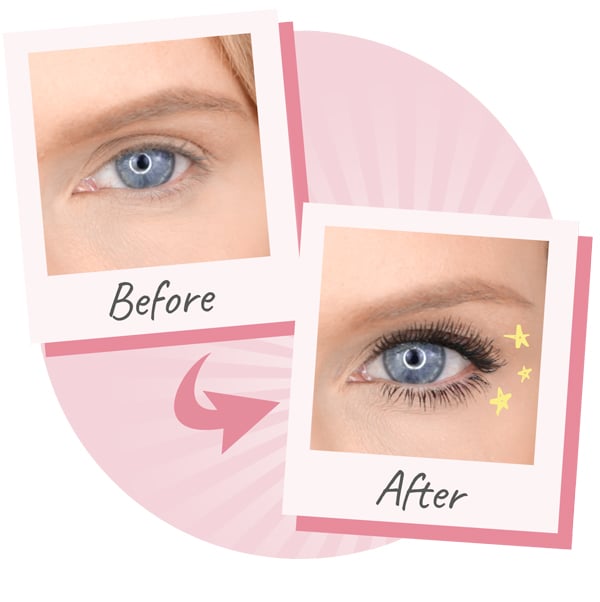
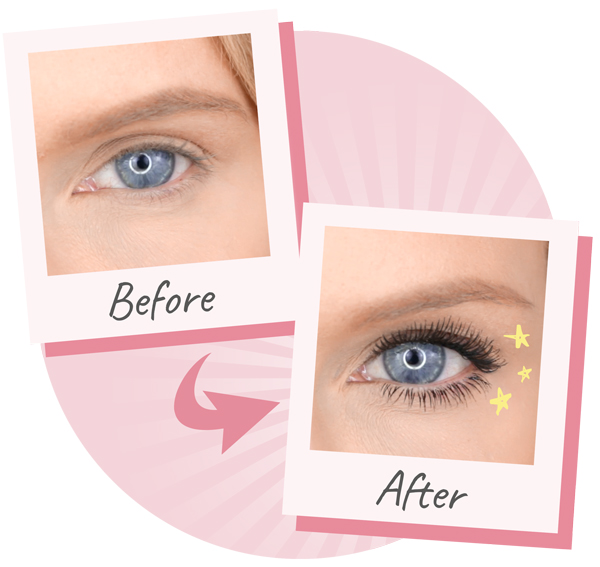
...make sure to watch my video above 👆 because I'm going to show you how you can 'cheat' the look of longer, fuller lashes using just 3 products! ✨
After you've watched all my expert advice in the video above, find out more about the game-changing products I used below! 👇
If you've never used an eyelash plumping primer before, then this (in my view) is the very best that’s out there! 🏆
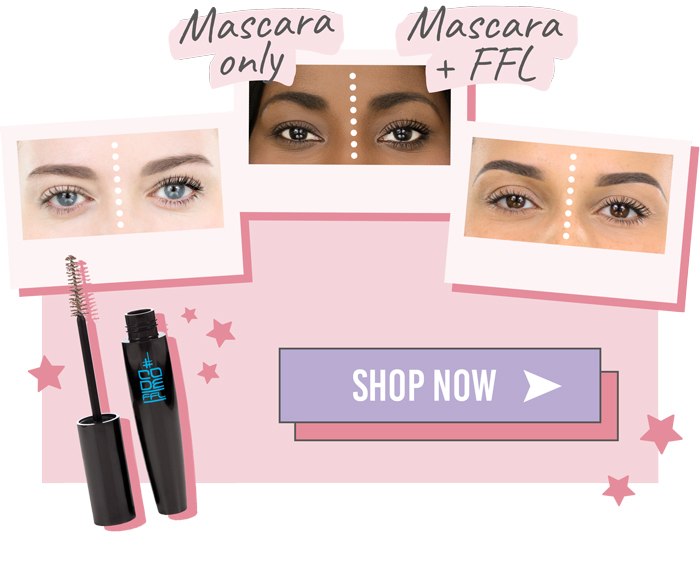
Code FFL Lash Primer gives short lashes show-stopping length and thin lashes will be plumped-out and thickened like never before!
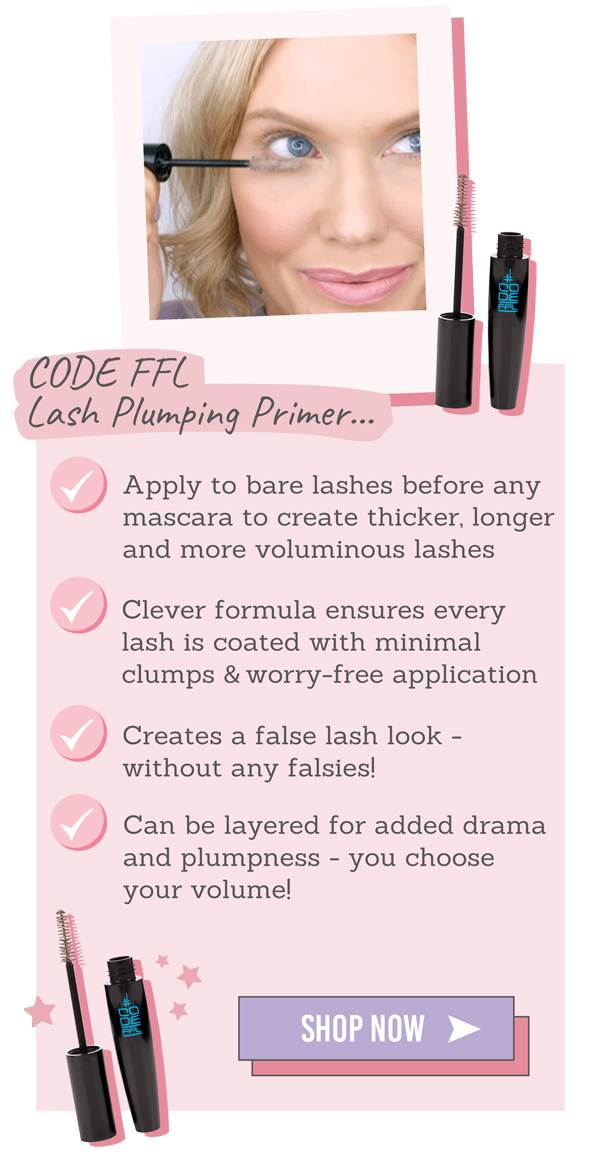
The primer is beige toned, so it acts as a guide to ensure that you have coated every single baby lash.
Simply pop the brush onto your bare lashes as close to the root as you can and wiggle upwards to coat the entire length of your lashes.
The more coats you apply, the thicker and longer your lashes will look 🙌
This primer works brilliantly under every mascara (I allow about 30 seconds for the Code FFL Lash Primer to dry before reaching for my mascara).
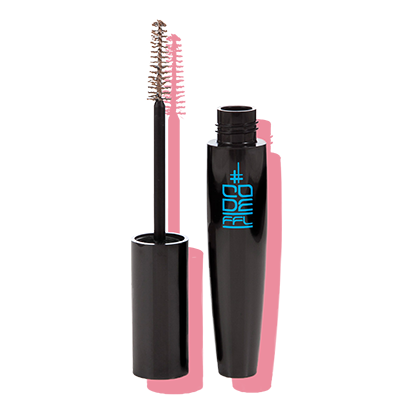
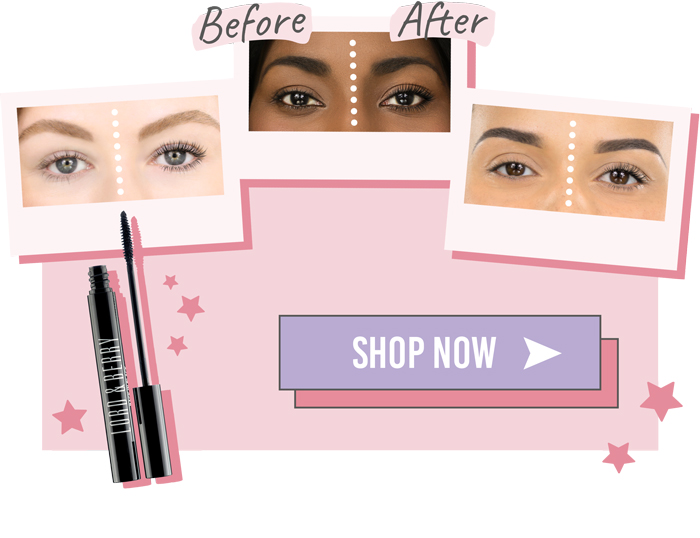
This Lord & Berry Back in Black Mascara is one of the few (rare to find) mascaras that can take you from a natural look to a high volume look! 👏
You also get to choose the volume effect with this mascara; with just one simple coat you can achieve a natural, pretty look with a deeply pigmented black...
...but if you want to go all out, you just keep applying more layers and see your lashes take full volume effect! 🤩
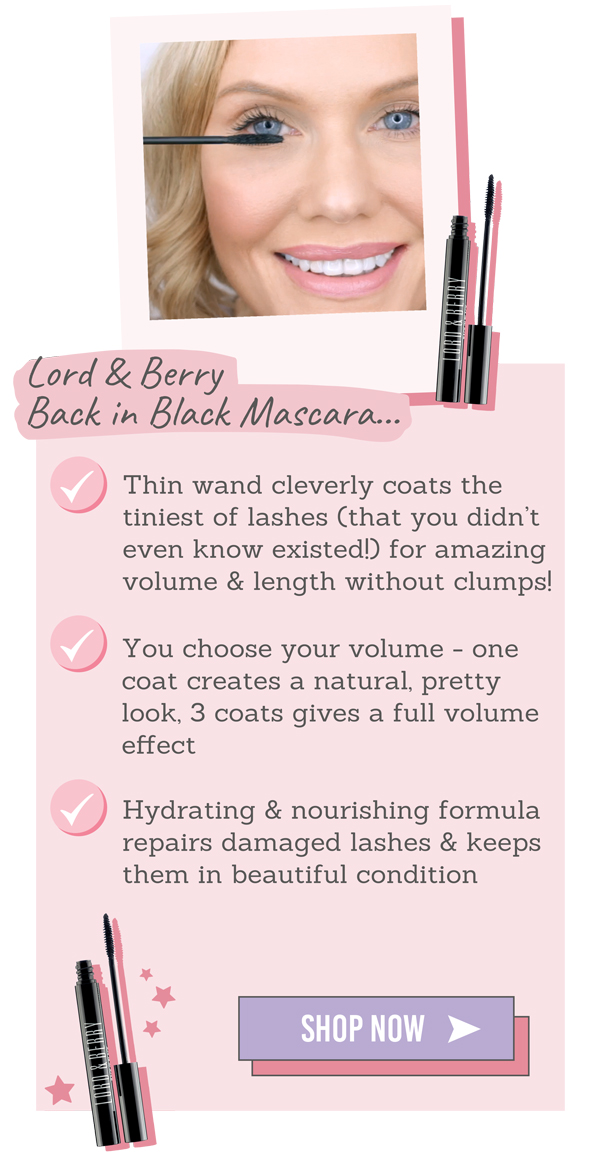
Place the wand at the very base of your lashes (so that you can feel the wand touching at the roots of your lashes and your upper waterline).
Now, wiggle the brush at the root of the lash before sweeping up and coating the entire lash length.
For extra volume, apply several coats, especially on the outer corner lashes! ✨
I can't get enough of this Eye of Horus Goddess Eyeliner. It's one of my all-time faves (and believe me I've tried hundreds!)
It’s not just the unique colour of this incredible eyeliner that makes this so special - it’s creamy, highly pigmented and has maximum staying power too! 👊✨
This is the eyeliner I use to really make lashes look wow and once you've tried it you'll see why. I think you'll love the results! 😍
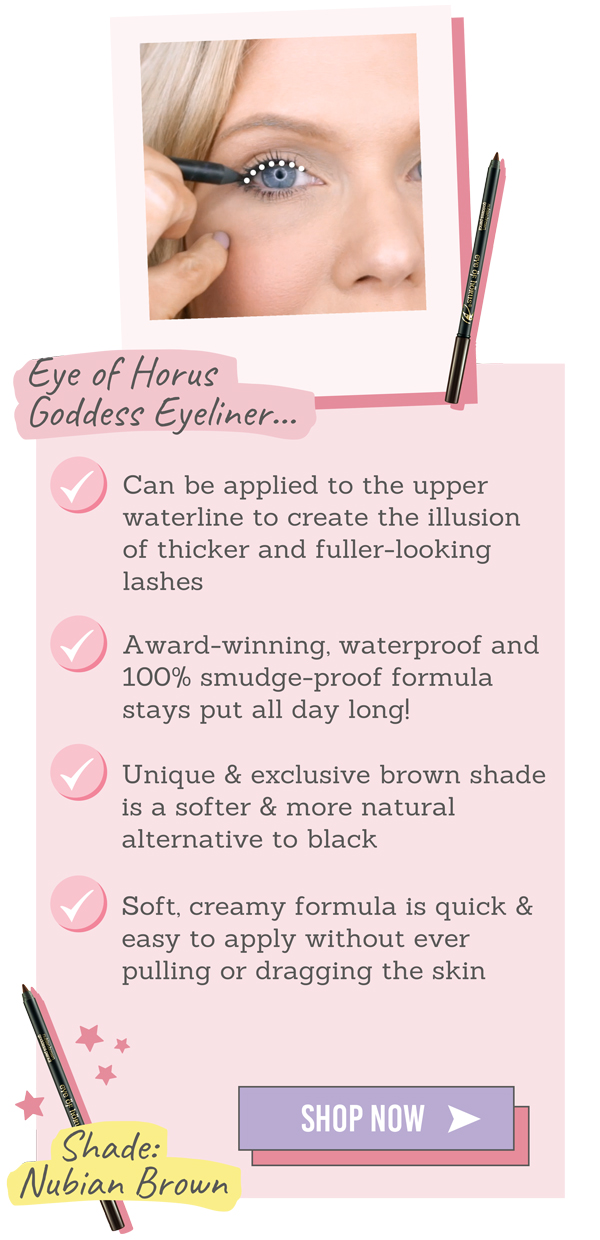
If you've never lined the upper waterline of your eyes before, then you're missing a trick, as it makes a huge difference in how full and thick your lashes can look 💖
Gently place the eyeliner at the outer corner of the upper waterline and move the pencil from side to side, taking the colour about two-thirds of the way across.
Wait a few seconds for the formula to dry before blinking to avoid transferring the liner onto the lower waterline. (If this happens just swipe away unwanted eyeliner with a q-tip) 🙌

I'm so excited for you to try these lash products and tips! 💗
If you haven't already, be sure to watch my video above 👆 to see exactly how to achieve a full volume lash look without the falsies!
Plus, scroll down to discover even more tips that I think you'll love below!👇
Love,